Troubleshooting pneumatic valve systems can be a breeze with the right tips and techniques. When these vital components fail or malfunction, production downtime can be costly. Start by checking for air leaks, inspecting connections for damage, and ensuring proper lubrication. Listen for unusual sounds and monitor pressure levels. If problems persist, consult system documentation and consider using diagnostic tools to pinpoint issues. Regular maintenance and staff training can also prevent common problems. With these strategies, you can keep your pneumatic valve systems running smoothly and minimize costly disruptions to your operations.
Identifying Common Pneumatic Valve Problems
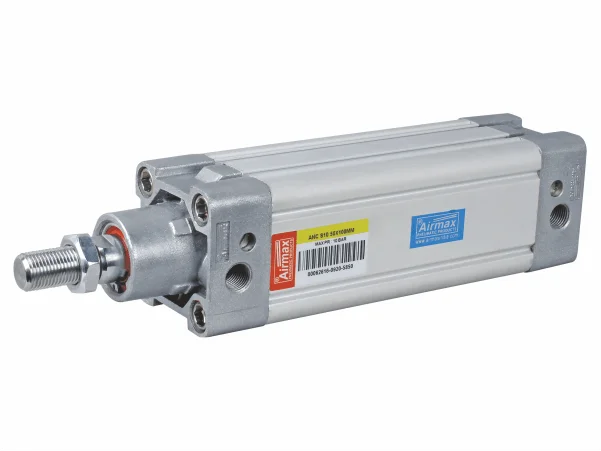
Pneumatic valves play a crucial role in various industrial processes, but like any mechanical component, they can encounter problems. Identifying these issues early is essential for maintaining efficient operations. Here are some common pneumatic valve problems:
- Valve Sticking: If a valve fails to open or close smoothly, it might be sticking due to dirt, debris, or inadequate lubrication. Regular cleaning and proper lubrication can prevent this issue.
- Air Leaks: Air leaks can lead to decreased system efficiency and increased energy consumption. Listen for hissing sounds near valves or feel for air escaping. Leaks are often caused by damaged seals or fittings.
- Valve Coil Failures: The coils in solenoid-operated valves can fail, preventing the valve from functioning correctly. Testing the coil’s electrical continuity can help diagnose this problem.
- Incorrect Valve Sizing: Using the wrong valve size for your application can result in insufficient airflow or excessive pressure drops. Ensure that the valve matches the system’s requirements.
- Excessive Valve Wear: Over time, valves can experience wear and tear, especially in high-demand applications. Regular maintenance and replacement of worn parts are crucial for preventing downtime.
Steps for Effective Leak Detection and Resolution
Air leaks are a common issue in pneumatic systems, and addressing them promptly is essential. Here’s a step-by-step guide for effective leak detection and resolution:
- Visual Inspection: Start by visually inspecting all pneumatic components, including valves, fittings, hoses, and connections. Look for signs of wear, damage, or loose connections.
- Soap and Water Solution: Mix a soap and water solution and apply it to potential leak points. Bubbles will form at the source of the leak, making it easier to identify.
- Ultrasonic Leak Detection: Use an ultrasonic leak detector to pinpoint leaks that are difficult to detect visually or with soap and water. These devices can identify high-frequency sounds produced by escaping air.
- Pressure Drop Test: Conduct a pressure drop test by pressurizing the system and monitoring the pressure gauge. A drop in pressure indicates a leak. Isolate sections of the system to narrow down the leak’s location.
- Seal and Fitting Inspection: Check seals and fittings for signs of damage or wear. Replace any faulty components, and ensure proper tightening.
- Regular Maintenance: Implement a preventive maintenance schedule to check for and address leaks on a routine basis. This proactive approach can save both time and energy costs.
Optimizing Valve Connections: A Troubleshooter’s Guide
Proper valve connections are vital for pneumatic systems to operate efficiently. Here’s a troubleshooter’s guide for optimizing valve connections:
- Select the Right Fittings: Ensure that you use the correct type and size of fittings for your system. Different fittings are designed for specific applications, and using the wrong ones can lead to leaks and pressure drops.
- Tighten Connections Properly: Over-tightening or under-tightening connections can cause problems. Use a torque wrench to achieve the recommended torque levels for fittings and connections.
- Use Thread Sealants: Apply thread sealant tape or liquid sealant to threaded connections to prevent air leaks. Make sure not to obstruct the flow path with excess sealant.
- Check for Damage: Inspect fittings and connections for signs of damage, such as cracks or dents. Replace any components that show wear and tear.
- Secure Hoses and Tubing: Use clamps or brackets to secure hoses and tubing, preventing them from kinking or vibrating excessively, which can cause premature wear and leaks.
- Avoid Sharp Bends: Minimize sharp bends and twists in tubing and hoses, as these can restrict airflow and cause pressure drops.
- Regular Inspection: Include valve connections in your routine inspection and maintenance procedures. Detecting issues early can prevent costly downtime.
Mastering Pneumatic Valve Pressure Issues
Maintaining optimal pressure levels in pneumatic systems is crucial for efficient operation. Here’s how to master pneumatic valve pressure issues:
- Pressure Regulators: Install pressure regulators in the system to control and maintain the desired pressure level. Adjust the regulator settings as needed to meet the requirements of specific processes.
- Pressure Gauges: Place pressure gauges at key points in the system to monitor pressure levels continuously. This provides real-time feedback and helps identify fluctuations or drops.
- Pressure Relief Valves: Include pressure relief valves in the system to prevent over-pressurization, which can lead to valve and equipment damage. These valves open when pressure exceeds a safe limit.
- Leak Detection: Regularly inspect the system for air leaks, as they can cause pressure drops. Address any leaks promptly to maintain consistent pressure.
- Filter Maintenance: Clean or replace air filters regularly to ensure that the system receives clean, debris-free air. Clogged filters can restrict airflow and affect pressure.
- Valve Maintenance: Keep pneumatic valves well-maintained to prevent pressure-related issues. Inspect valves for wear, sticking, or damage, and replace faulty components.
- System Balancing: Balance the pneumatic system by adjusting pressure settings and valve openings to distribute air evenly among various components and processes.
- Monitor and Adjust: Continuously monitor pressure levels during system operation and make adjustments as necessary to maintain optimal performance.
Advanced Diagnostic Tools and Techniques
Advanced diagnostic tools and techniques can help pinpoint and address pneumatic valve problems efficiently. Here are some advanced methods:
- Infrared Thermography: Use infrared cameras to detect temperature anomalies in the system. Elevated temperatures can indicate issues such as friction, overheating, or valve malfunctions.
- Flow Meters: Install flow meters to measure and monitor the flow rate of compressed air. Sudden drops in flow can indicate obstructions or valve problems.
- Data Logging: Implement data logging systems to record and analyze system performance over time. This historical data can help identify recurring issues or trends.
- Vibration Analysis: Vibration sensors can detect abnormal vibrations in pneumatic components. Excessive vibrations may signal misalignment, wear, or unbalanced loads.
- Condition Monitoring Systems: Invest in condition monitoring systems that provide real-time data on the health of pneumatic valves and other components. These systems can predict maintenance needs before failures occur.
- Remote Monitoring: Use remote monitoring technology to access system data from anywhere, allowing for proactive troubleshooting and maintenance.
- Diagnostic Software: Utilize diagnostic software that can analyze system data and provide insights into potential issues or areas for optimization.
By incorporating these advanced tools and techniques into your pneumatic system maintenance and troubleshooting efforts, you can enhance system reliability, reduce downtime, and maximize efficiency.
